Hey there, aspiring blogger! Are you ready to share your voice, passion, or business with the world? Building a blog might seem like a daunting task at first, but with WordPress, it's an incredibly achievable and rewarding journey. This step-by-step tutorial is designed specifically for beginners, guiding you through the process of creating a responsive, beautiful, and functional blog that’s ready to capture your audience’s attention. We’ll cover everything from getting started with your domain and hosting to customizing your site and making it shine. Let’s dive in and build something amazing together!
WordPress isn't just a blogging platform; it's a powerful and flexible content management system (CMS) that powers over 43% of all websites on the internet. That's a huge number, and it speaks volumes about its versatility and reliability. Whether you're dreaming of a personal blog, a bustling e-commerce store, or a professional business website, WordPress has the tools and community support to make it happen.
One of the biggest advantages of WordPress is its user-friendliness. While it offers incredible depth for developers, its intuitive interface allows beginners to build sophisticated websites without needing to write a single line of code. This means you can focus on what you want to say and how you want your site to look, rather than getting bogged down in technical complexities.
Beyond ease of use, WordPress boasts an enormous ecosystem of themes and plugins. Themes control the visual design of your site, giving you endless options to create a unique look. Plugins, on the other hand, add functionality, from improving your site’s search engine optimization (SEO) to adding contact forms, security features, and much more. This extensibility is what makes WordPress such a robust choice for any type of website.
2. Your Digital Address: Choosing the Perfect Domain Name
Think of your domain name as your blog’s unique street address on the internet. It’s what people will type into their browser to find you, so choosing the right one is crucial. A good domain name should be memorable, easy to spell, and relevant to your blog’s topic or your brand. It’s often the first impression you make, so take your time with this step.
When brainstorming domain names, try to keep them relatively short and avoid hyphens or numbers if possible, as these can make it harder for people to remember and share. Consider keywords related to your niche, but also think about creating a brandable name that stands out. If your desired .com domain isn't available, explore other popular extensions like .net, .org, or even newer, more specific ones like .blog or .io.
Before you commit, it’s a good idea to check if the corresponding social media handles are available for your chosen name. Consistency across platforms helps in building your brand identity and makes it easier for your audience to find you everywhere. Most domain registrars will allow you to search for available names directly on their websites, making the process straightforward.
3. Finding a Home for Your Blog: Selecting Reliable Web Hosting
Once you have your domain name, you need a place for your website’s files to live, accessible 24/7 to anyone with an internet connection. This is where web hosting comes in. Your web host provides the server space and technology required for your blog to be live on the web. Choosing a reliable host is paramount for your blog's performance, security, and overall success.
There are many hosting providers out there, each offering different types of hosting plans. For beginners, shared hosting is usually the most affordable and sufficient option. With shared hosting, your website shares server resources with other websites. As your blog grows, you might consider upgrading to more powerful options like VPS (Virtual Private Server) or dedicated hosting.
When evaluating hosting providers, look for key features such as uptime guarantees (you want your site to be almost always online), customer support (especially 24/7 support for when issues arise), and one-click WordPress installation options. Many hosts also offer a free domain name for the first year if you sign up for their hosting plan, which can be a nice bonus. Popular choices include Bluehost, SiteGround, HostGator, and WP Engine (for managed WordPress hosting).
4. Getting WordPress Up and Running: Installation Made Easy
Now that you have a domain name and web hosting, it's time to install WordPress. The good news is that this process is usually incredibly simple thanks to most hosting providers offering one-click WordPress installation. You don't need any technical wizardry to get started!
After you’ve signed up for your hosting account, log into your hosting control panel, often called cPanel. Inside cPanel, you'll typically find an icon or section labeled "WordPress," "One-Click Installers," or "Softaculous." Clicking on this will walk you through a very simple installation wizard. You’ll be asked to choose where to install WordPress (usually your main domain), create an administrator username and password, and enter your site’s title.
Once you’ve completed the wizard, WordPress will be installed on your domain. You’ll receive an email with your login credentials and a link to your WordPress dashboard (usually yourdomain.com/wp-admin). Make sure to save these details in a secure place. Congratulations, you’ve just installed WordPress! The next exciting step is to start exploring your new website's backend.
5. First Steps Inside: Navigating the WordPress Dashboard
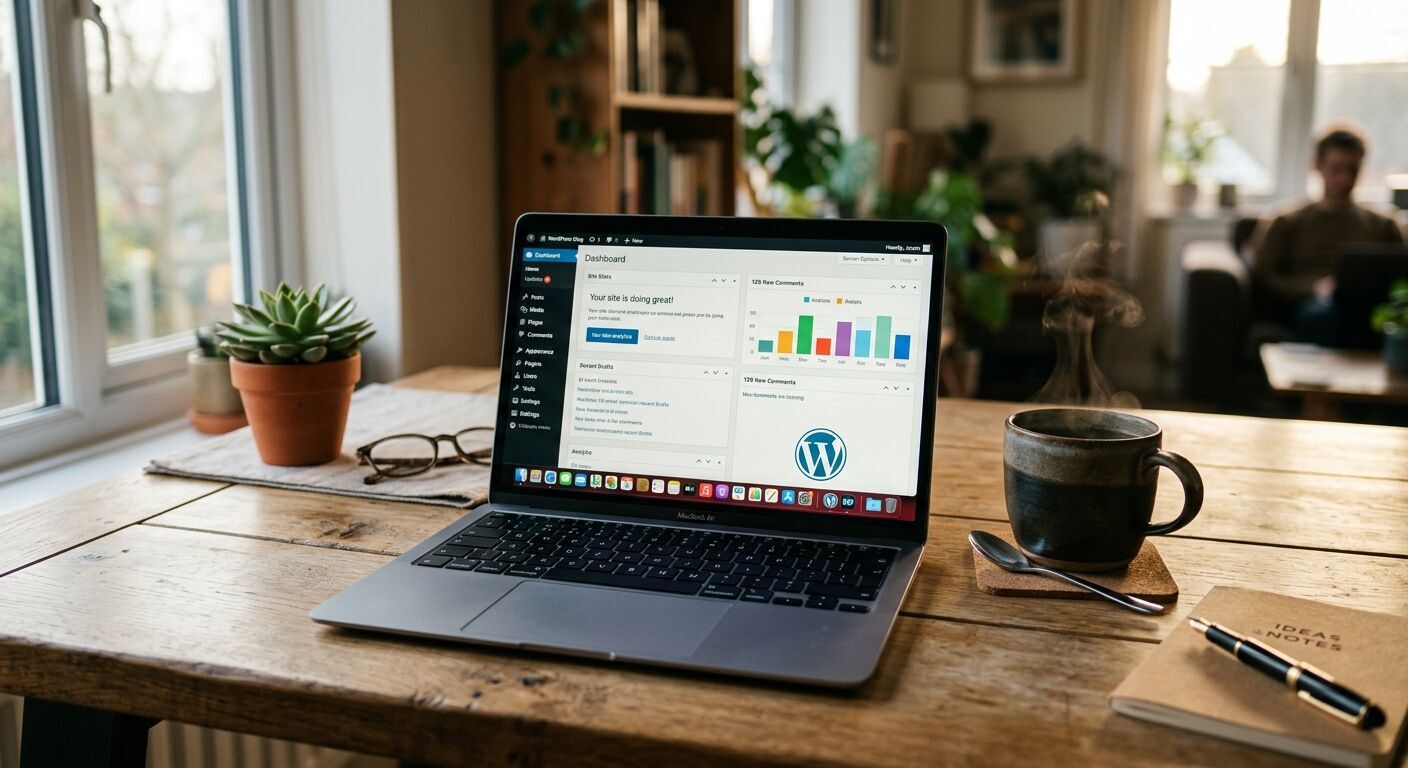
Welcome to the heart of your WordPress blog – the dashboard! This is where you'll manage all aspects of your site, from creating content to customizing its appearance and adding new features. It might look a little busy at first, but you'll quickly get the hang of it. The dashboard is organized with a main navigation menu on the left side, providing access to all the different sections.
Let's break down some of the key areas you'll encounter:
Posts: This is where you'll write and manage all your blog articles.
Pages: Used for static content like "About Us" or "Contact" pages.
Media: All your images, videos, and other uploaded files live here.
Comments: Manage comments left by your readers.
Appearance: Customize your site's look and feel, including themes, widgets, and menus.
Plugins: Add new functionalities to your site.
Users: Manage user accounts, especially if you have multiple authors.
Settings: Configure global settings for your site, such as site title, permalinks, and reading options.
6. Dressing Up Your Blog: Choosing and Installing a Theme
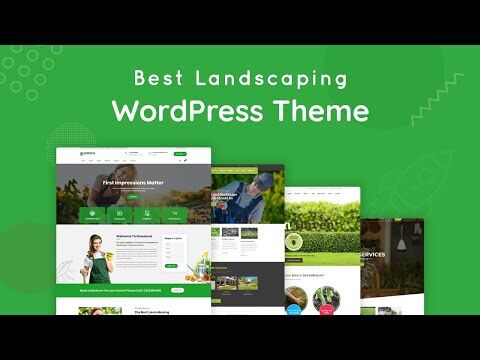
Now for the fun part: making your blog look great! A WordPress theme is essentially a template that dictates the visual design and layout of your website. It controls everything from colors and fonts to how your posts and pages are displayed. Choosing the right theme is crucial as it impacts your blog’s aesthetics, user experience, and even its performance.
WordPress offers thousands of free and premium (paid) themes. For beginners, starting with a free theme from the official WordPress Theme Directory is a great idea. These themes are vetted for security and coding standards. To browse and install a theme, navigate to Appearance > Themes in your WordPress dashboard. Click "Add New" to explore the directory. You can filter themes by features, layout, and subject.
When selecting a theme, consider its responsiveness (how well it adapts to different screen sizes, like mobile phones), its reviews, and how frequently it’s updated. Look for themes that align with the aesthetic you envision for your blog. Once you find one you like, simply click "Install" and then "Activate." Your blog will instantly transform with the new theme’s design.
7. Making It Uniquely Yours: Customizing Your WordPress Theme
Once your theme is active, it’s time to make it truly your own. WordPress provides powerful customization options, most of which can be accessed through the WordPress Customizer. To get there, go to Appearance > Customize in your dashboard. This opens a live preview of your site with a sidebar menu of customization options.
The Customizer allows you to change various aspects of your theme without touching any code. You can typically:
Upload your site’s logo and favicon.
Adjust colors for headings, text, and backgrounds.
Choose fonts and typography settings.
Configure header and footer layouts.
Set up your homepage display (static page or latest posts).
Add custom CSS for advanced styling.
The options available will vary depending on your chosen theme, as each theme offers its own specific customization settings. Spend some time exploring these options, making changes, and seeing them reflected in real-time in the live preview. Don't forget to click "Publish" to save your changes once you're happy with them. This iterative process helps you fine-tune your blog’s appearance to match your vision.
8. Crafting Your Content: Creating Posts and Pages
With your blog's foundation and design in place, it's time to start adding content! WordPress distinguishes between "Posts" and "Pages," and understanding the difference is important for organizing your site effectively.
Posts are chronological entries that form your blog. They are typically used for articles, news updates, or time-sensitive content. Posts can be categorized and tagged, which helps readers navigate through your content and search engines understand your site's structure. When you publish a new post, it usually appears at the top of your blog feed. To create a new post, go to Posts > Add New in your dashboard.
Pages, on the other hand, are for static, timeless content. Think of pages like your "About Us," "Contact," "Privacy Policy," or "Services" sections. They don't have categories or tags and are generally not displayed in your main blog feed. To create a new page, go to Pages > Add New. Both the post and page editors in WordPress (Gutenberg block editor) are intuitive, allowing you to add text, images, videos, and more using an easy block-based system.
9. Supercharging Your Blog: Essential Plugins for Success
Plugins are like apps for your WordPress site – they extend its functionality and add new features without requiring you to write code. With tens of thousands of plugins available, you can truly customize your blog to meet any need. However, it's wise to start with a few essential ones to improve security, SEO, and overall user experience.
Here are some must-have plugin categories for any new blog:
SEO (Search Engine Optimization): Plugins like Yoast SEO or Rank Math help you optimize your content for search engines, making it easier for people to find your blog.
Security: Wordfence Security or Sucuri Security help protect your site from malware, hacking attempts, and other vulnerabilities.
Backup: UpdraftPlus or BackWPup allow you to easily create full backups of your website, so you can restore it if anything goes wrong.
Performance/Caching: Plugins like WP Super Cache or LiteSpeed Cache improve your site's loading speed, which is crucial for user experience and SEO.
Contact Forms: WPForms or Contact Form 7 enable you to create simple contact forms for your readers to get in touch.
To install a plugin, go to Plugins > Add New in your dashboard, search for the plugin by name, click "Install Now," and then "Activate." Always install plugins from reputable sources and keep them updated to ensure compatibility and security.
10. Organizing Your Site: Mastering Widgets and Menus
Widgets and menus are key tools for improving your blog’s navigation and displaying important information to your visitors. They help organize your content and make your site more user-friendly.
Widgets are small blocks of content that can be placed in specific areas of your theme, such as the sidebar or footer. Common widgets include:
Recent Posts: Displays links to your latest blog posts.
Categories: Lists all your post categories.
Search: A search bar for your visitors to find content.
Custom HTML: Allows you to add custom code or text.
Text: A simple box for custom text, images, or links.
You can manage widgets by going to Appearance > Widgets. Simply drag and drop available widgets into your theme’s widget areas. Menus, on the other hand, are used to create navigation links for your site. You can create custom menus to link to your most important pages, categories, or even external sites. Go to Appearance > Menus, create a new menu, add the items you want, and then assign the menu to a location defined by your theme (e.g., primary navigation, footer menu).
11. Getting Discovered: Basic WordPress SEO
Having a great blog is only half the battle; you also need people to find it. Search Engine Optimization (SEO) is the process of optimizing your website to rank higher in search engine results, leading to more organic traffic. While SEO can be complex, there are several basic steps you can take with WordPress to get a head start.
First, install an SEO plugin like Yoast SEO or Rank Math, as mentioned earlier. These plugins provide tools to help you optimize your content for search engines, making it easier for people to find your blog. Second, ensure your site’s permalinks (the URLs for your posts and pages) are "pretty" and descriptive. Go to Settings > Permalinks and choose "Post name" for a clean, SEO-friendly structure.
Other important SEO considerations include:
Creating high-quality, valuable content that answers user questions.
Using relevant keywords naturally throughout your content.
Optimizing images (compressing them for faster loading and adding alt text).
Making sure your site is mobile-friendly (most modern WordPress themes are).
Building internal links between your own posts and pages.
SEO is an ongoing process, but by laying a strong foundation, you'll significantly improve your chances of getting discovered by search engines and new readers.
12. Ready for Prime Time: Launching Your Blog and Beyond
Congratulations! You've built your WordPress blog, customized its appearance, added essential plugins, and created your first pieces of content. Before you officially "launch" and start promoting your blog, do a final review.
Check all your links to ensure they work correctly.
Proofread all your content for typos and grammatical errors.
Test your blog on different devices (desktop, tablet, mobile) to ensure it's responsive.
Make sure your contact forms are working and sending emails correctly.
Consider setting up Google Analytics to track your website traffic.
Once you’re confident everything is in order, it’s time to share your blog with the world! Start by sharing your posts on social media, telling friends and family, and perhaps even reaching out to other bloggers in your niche. Remember, building a successful blog is a marathon, not a sprint. Consistency, quality content, and engagement with your audience are key. Keep learning, keep creating, and enjoy the journey!
FAQ
Q: Do I need to know how to code to build a WordPress blog?
A: Absolutely not! WordPress is designed to be user-friendly for beginners, allowing you to build a full-featured blog without writing any code. Themes provide the design, and plugins add functionality.
Q: Is WordPress free?
A: The WordPress software itself is free and open-source. However, you will need to pay for a domain name and web hosting, which are essential for any website.
Q: What's the difference between WordPress.com and WordPress.org?
A: WordPress.com is a hosted blogging service that offers a simpler, more restrictive platform. WordPress.org (which this tutorial focuses on) is the self-hosted version, where you download the software and install it on your own hosting account, offering maximum flexibility and control.
Q: How much does it cost to start a WordPress blog?
A: The initial costs typically include a domain name (around $10-15 per year) and web hosting (starting from $3-10 per month for shared hosting). Premium themes or plugins can add to this, but many free options are excellent.
Key Takeaways
WordPress is a powerful yet user-friendly platform, perfect for beginners, offering immense flexibility for any type of blog or website.
Your domain name and web hosting are fundamental requirements; choose them carefully for brand recognition and site performance.
The WordPress dashboard is your control center; take time to explore its various sections, including Posts, Pages, Appearance, and Plugins.
Themes dictate your blog's design, and plugins extend its functionality. Prioritize responsive themes and essential plugins for SEO, security, and backups.
Consistency in content creation and basic SEO practices are crucial for attracting and retaining an audience.
Launching your blog is just the beginning; continuous learning, updating, and engaging with your readers will fuel its long-term success.
Key Takeaways
WordPress is a powerful yet user-friendly platform, perfect for beginners, offering immense flexibility for any type of blog or website.
Your domain name and web hosting are fundamental requirements; choose them carefully for brand recognition and site performance.
The WordPress dashboard is your control center; take time to explore its various sections, including Posts, Pages, Appearance, and Plugins.
Themes dictate your blog's design, and plugins extend its functionality. Prioritize responsive themes and essential plugins for SEO, security, and backups.
Consistency in content creation and basic SEO practices are crucial for attracting and retaining an audience.
Launching your blog is just the beginning; continuous learning, updating, and engaging with your readers will fuel its long-term success.

 Alex Martun